
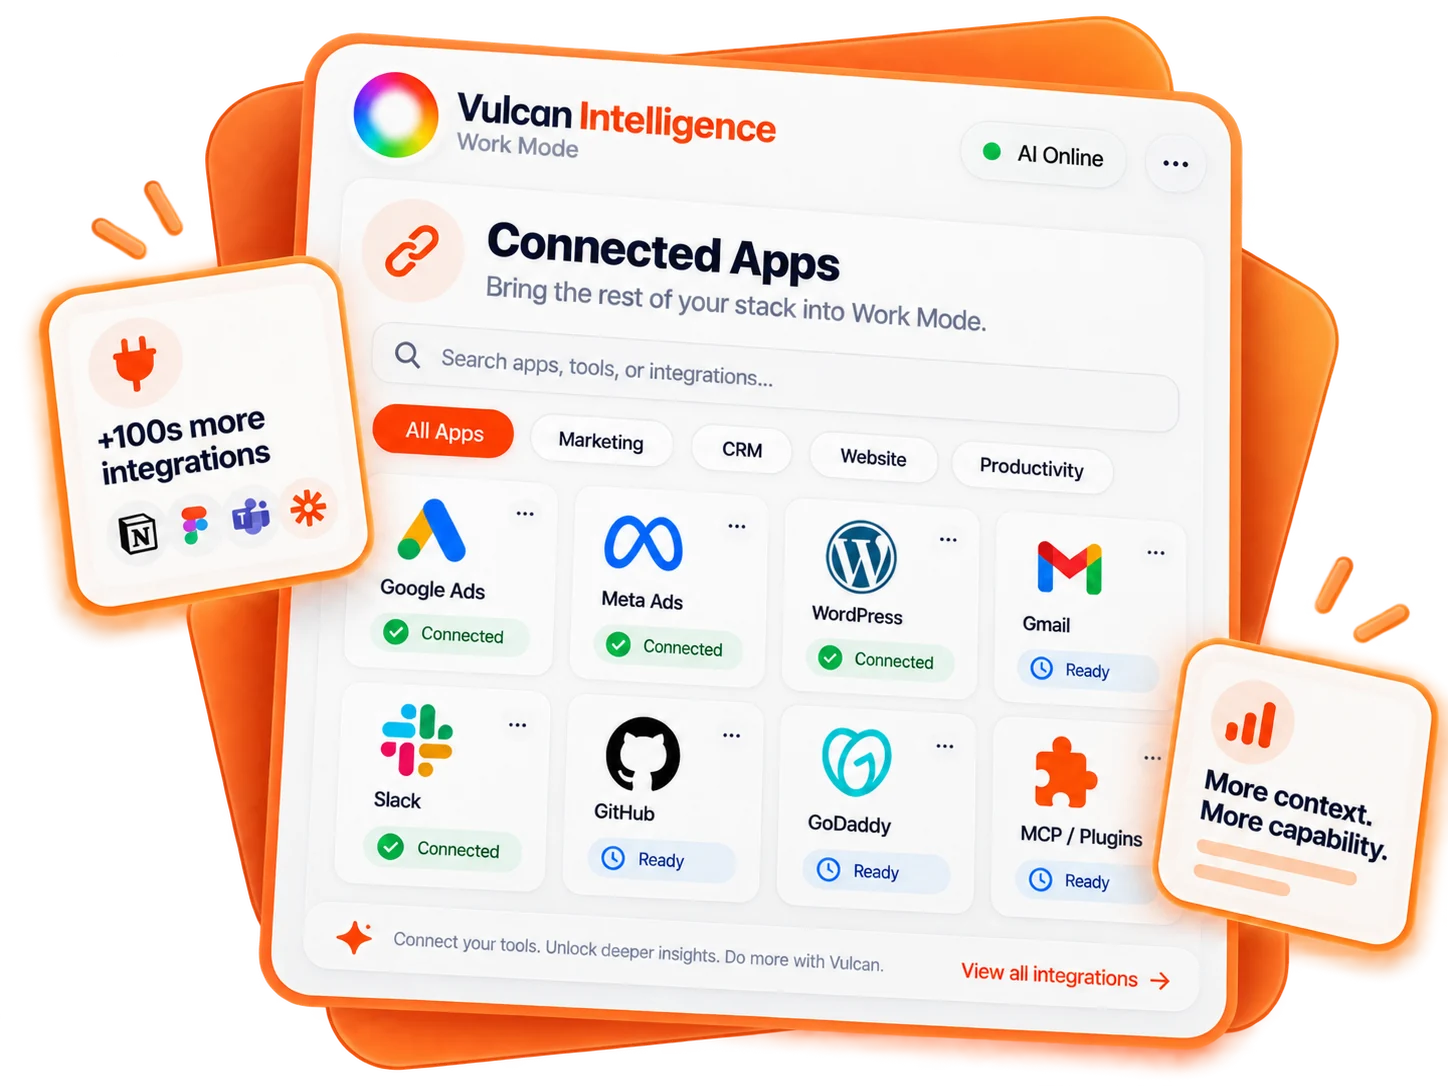
Connections are personal to your workspace session
Open Work Mode → Connections to use Vulcan Connections. A connection belongs to your signed-in user in the active workspace. Another user’s installation, an integration connected elsewhere in TradeVulcan, or a ChatGPT plugin is not automatically inherited.
The gallery is a discovery interface. A tile can be available, checking, need attention, be unavailable or say Coming soon. Connected styling should reflect verified current connection metadata and selected resources—not simply that you clicked the logo.
Use the provider-specific setup
| Provider | TradeVulcan connection path | Resource selection |
|---|---|---|
| Windsor.ai | Personal OAuth authorization | Returned advertising/analytics connector accounts |
| GitHub | Personal fine-grained token in secure form | Selected customer repositories |
| Vercel | Personal token using the REST adapter | One selected team and project |
| Desktop Commander | Personal OAuth authorization | Online device and working folders; terminal separately |
| Context7 | Explicit public mode or own optional API key | Selected public documentation library IDs |
This table describes the implemented adapter paths, not a promise that every provider is enabled in every workspace. The Connections panel and available action list determine what you can use now.
Connect, select and verify
- Confirm the active workspace and choose the provider.
- Authorize through the provider flow or enter its credential only in the secure connection form. Never paste it into chat, a brief or an uploaded document.
- Choose only the required accounts, repositories, project, device or libraries.
- Save the selection and inspect the verification result.
- Start with a read-only request that names the connection and resource.
Enable changes only when needed
Read access does not automatically enable writes. Some connections offer Allow approved external actions or equivalent controls; others are read-only in the current release. A second Windsor installation, for example, may explicitly show that external changes are unavailable.
Enabling approved actions is not blanket permission to execute. Every supported Work mutation still requires the exact approval, current app permission and provider permission. Advertising spend, hosting, provider subscriptions and relevant usage remain separate commercial considerations.
Refresh, pause and disconnect
Refresh rechecks provider tools and resource identity. It can require account reselection and disable writes until reviewed. Changing scopes or disconnecting invalidates old assumptions and outstanding approvals. Reprepare against the current connection after resolving the issue.
Disconnecting does not undo past provider changes or necessarily revoke a token everywhere it is used. Follow the provider’s own revocation process when appropriate. If an external action’s result is unknown, inspect the provider before disconnecting or repeating it.
Do not install through a placeholder
GoDaddy, Gmail, Slack and MCP for WordPress tiles are marked as future integrations in the reviewed Work gallery. They do not authorize purchases, mailbox access, channel reads or WordPress publishing. Use the availability guide before following setup instructions written for a different product or connector.